 .
.Poster Board Projects
Create a Poster Board Project
How to Create a Project Using Poster Board

Create a Poster Board Project easily and effectively, since poster board is one of the most convenient tools for school and office presentations. Poster board is one of the most convenient tools for school and office presentations. Why? Because it’s affordable, easy to use, available in many poster board sizes, and comes in a wide range of colors. It can be easily cut, scored, and folded, making it versatile for any project. Accessories such as borders, stencils, and markers are also widely available to help turn a simple sheet into an impressive display.
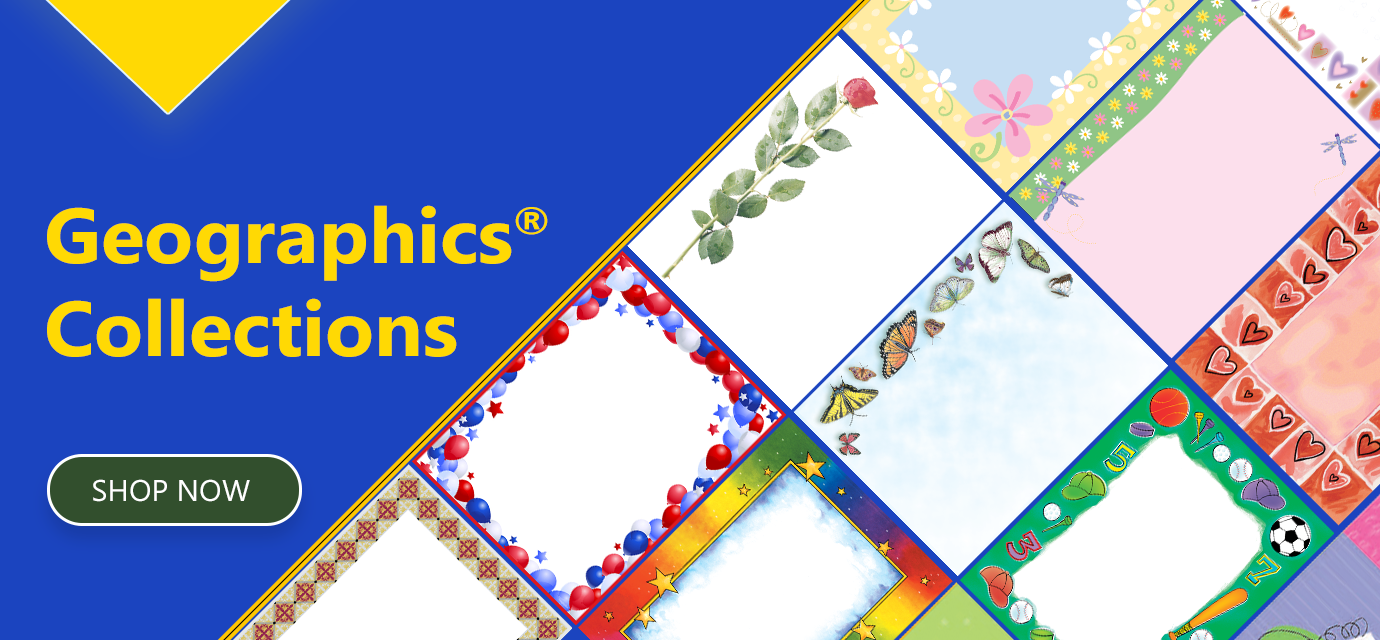
Geographics offers Royal Brites® Poster Board and Accessories—Made in USA—for quality you can trust.
Poster board, project board, and foam board have been used in science fair projects and professional presentations for decades. Think of a sheet of poster board as a blank page on which you can showcase your topic. Whether you use a normal poster board size for a classroom task or a large poster board size for a fair or conference, the goal is always the same: to keep your design clean, clear, and effective.
Things You’ll Need:
-
- Computer with Printer and Internet Access
- Poster Board White, Black or Color (one sheet or more)
- We recommend the Two Cool Colors Poster Board 22″x28″
- Poster Board Borders
- Two Cool Poster Board Marker
- Glue & Stencils
- White Paper
- Colored Paper
- A pair of scissors
- Poster carry on bag
(Most of the above items can be found in our Poster Board and Accessories section.)
Step 1
Split your presentation into five main sections. The first or the last section should be a summary of the whole project. You can begin with the summary and repeat it at the end for emphasis.
Step 2
Type and print out the title of your presentation. Cut it out and glue it onto colored paper or directly onto the board. You can also use stencils and markers to write directly on the poster board.
Type and print each section of your content. Use one page (horizontal or vertical) for each section. Glue each page into the center of a piece of colored paper.
Step 3
Decorate your poster board sheet with assorted borders. This makes even a thick poster board look more professional and polished.
Step 4
Arrange and glue the colored sections onto the board: place two sections on each side and one section in the middle, with two below. Leave space for pictures. Add shadows, signs, or arrows using Two Cool Colors Markers. This layout works well on both normal poster board size sheets and larger displays.
Step 5
Print and glue pictures in the right spots. Use markers to highlight key areas and connect ideas visually.
If your project requires more space, consider upgrading to a large poster board size. Using different poster board sizes strategically helps make your work stand out.
Buy Poster BoardBonus Tips
- Buy extra poster boards in case of mistakes.
- Use stencils for titles if you want a uniform look.
- Flip to the back side of the board if you need more room to extend your presentation.
- Transport your board in a carry-on bag to keep it safe.
Final Note
From the standard poster board 22″x28″ to oversized displays, the size of poster board you choose will determine how impactful your project looks. Keep it simple, well-organized, and visually engaging—and your poster board project will always make a strong impression.
Buy Poster Board & Customize Online
Ready to create your project? Explore a wide range of poster board sizes—from the classic standard poster board 22″x28″ to large poster board sizes for science fairs and presentations.
- Use poster board stencils and markers for a professional finish.
- Extend your display by using the back side of your board.
- Protect your work with a poster board carry-on bag for safe transport.
💻 Design & Print: Personalize your certificates, posters, and projects easily with our free tool iClicknPrint® Design Center.
🛒 Shop Quality Boards: Discover Geographics® Products and Royal Brites® Poster Boards — Made in USA, built for creativity.
Buy now and start your best project today!