Celebrations Ideas, Christmas, Royal Lace® Arts & Crafts, Royal Lace® Projects
Ice Cream Cone Ornament
DIY Ice Cream Cone Ornament: A Sweet and Simple Craft for Kids
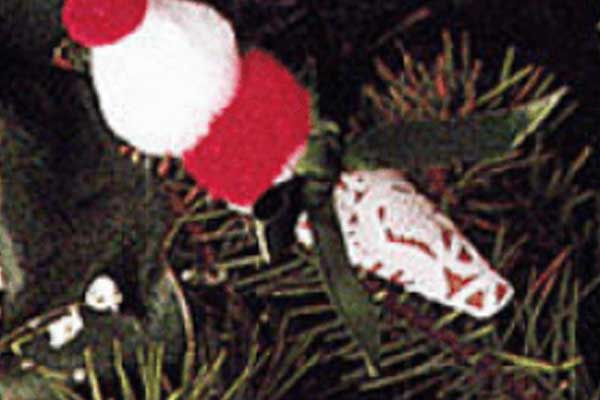
Ice Cream Cone Ornament – a fun and festive craft that’s easy to make with just a few colorful materials! Start with a Royal Lace® Medallion doily as your base. Use a 3” red paper circle for the scoop and a 4” brown paper triangle as the cone. Add two 1” pom poms—one red and one white—for extra texture, and a larger 1 ½” red pom pom as the cherry on top. Attach a ribbon at the top to hang your ornament, and finish it off with a small ribbon bow for a sweet final touch. This cheerful craft is perfect for kids and adds a playful charm to any holiday or party decoration!
Materials Needed:
- Royal Lace® Medallion doily
- 3” Circle red paper
- 4” triangle brown paper
- 2 1” Pom poms (one red, one white)
- 1 ½” Red pom pom
- ribbon for hanger
- ribbon for bow
Directions:

Ice Cream Cone Ornament DIY – a sweet and simple craft that looks good enough to eat! Start by gluing a round Royal Lace® doily to a brown paper triangle. Fold it into a cone shape and glue the edges to hold it in place. Next, glue one 1” red pom pom and one 1” white pom pom at the top to look like scoops of ice cream. Add a ½” red pom pom on top as the cherry. Tie a cute 1 ½” ribbon bow and glue it to the front of the cone. Finally, attach a loop made from satin ribbon to the back so you can hang your adorable ice cream cone ornament anywhere you like!
- Glue round doily to brown paper triangle and fold into a cone shape.
- Glue one 1” red and 1” white pom pom into cone top and top with ½” red pom pom.
- Tie and glue 1 ½” bow to front of cone and attach hanging loop made from satin ribbon to back of cone.

 .
.


