 Doilies Make the Difference – Video
 Lace Paper Doilies
Foam Board Projects, Halloween, Poster Board Projects, Sign Board Projects
No Tricks, Just Crafts! Create Your Own DIY Halloween Decorations
Halloween is just around the corner, and it’s the perfect excuse to pull out your craft supplies, clear off the kitchen table, and make something fun. You don’t need expensive decorations, complicated tools, or a closet full of crafting equipment to give your home or classroom a little Halloween personality.
Sometimes, a few sheets of colorful paper, a sturdy poster board, and a little imagination are all it takes.
Whether you’re planning a Halloween party, decorating a classroom, getting the kids involved in an afternoon project, or simply looking for something different this year, making your own decorations can be just as much fun as putting them up.
And there’s something particularly satisfying about seeing a Halloween decoration you made yourself hanging on the wall or greeting guests at the front door.
With poster boards, fluorescent neon paper, and glitter project paper from Royal Brites®, you can create colorful Halloween crafts that are easy to personalize, affordable to make, and fun for just about any age.
Here are a few ideas worth trying before October 31.
1. Make Halloween Signs That Nobody Will Miss
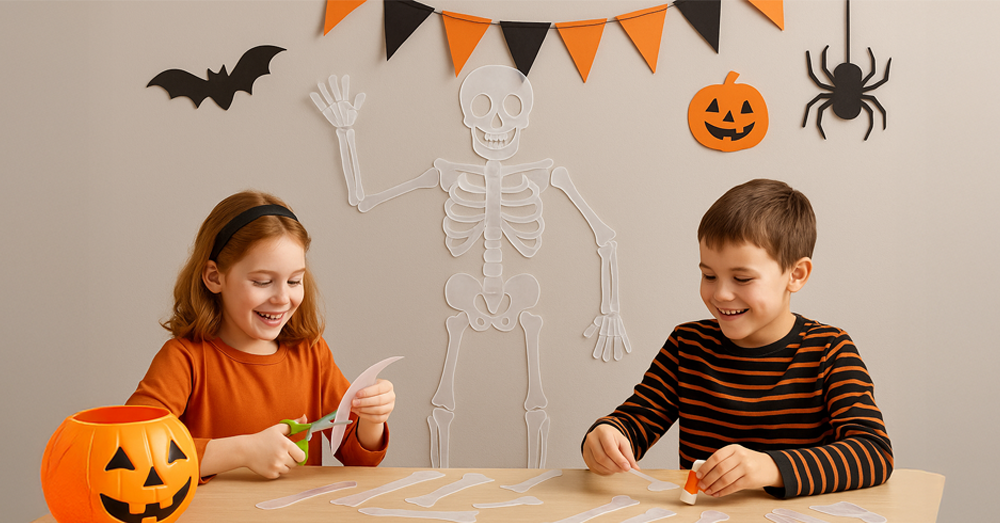
A handmade Halloween sign is one of the easiest ways to decorate a room, welcome trick-or-treaters, or add a little personality to a party.
Start with a large poster board and decide what kind of message you want to share. A cheerful “Boo!” works well for family gatherings, while “Enter If You Dare” is perfect for a haunted hallway. If you’re setting up a candy station, try “Witch Way to the Treats?” or “Take One… If You Dare!”
This is where bright colors can make a difference.
Traditional orange and black are always Halloween favorites, but fluorescent pink, neon green, and bright yellow can give your decorations a fun, unexpected look. Neon colors also work particularly well for monster-themed parties, Halloween games, and classroom displays.
The Royal Brites® Neon Assorted Poster Board, 22″x28″ offers plenty of room for large letters, drawings, and decorative details. Its generous size makes it useful for signs that need to be seen from across a room.
Before you start decorating, lightly sketch your lettering in pencil. Then fill it in with bold markers or paint and add a few paper bats, spiders, or pumpkins around the edges.
For an extra Halloween touch, cut letters from glitter paper and attach them to the sign. Black glitter lettering against a bright neon background looks especially good.
The finished sign can hang above a treat table, welcome guests at the door, or become part of a Halloween photo backdrop.
2. Create Your Own Halloween Photo Booth Props
Halloween photos are always more entertaining when everyone has something silly to hold.
Instead of buying a ready-made photo booth kit, try creating your own collection of handmade Halloween props using colorful craft paper and poster board.
Think oversized vampire fangs, witch hats, goofy monster eyes, skeleton smiles, black cats, and speech bubbles with funny Halloween messages.
Draw your designs on neon paper, cut them out, and reinforce larger pieces with poster board if needed. Attach a wooden craft stick to the back of each prop so guests can hold it comfortably.
You can also use glitter project paper to make shiny witch-hat buckles, sparkling stars, or dramatic vampire accessories.
For younger children, keep the designs simple. A bright green monster face with two enormous eyes can be just as funny as an elaborate costume accessory.
Once your props are ready, place them in a decorated container next to your photo area.
You can even create a matching poster board sign that says “Monster Selfie Station” or “Stop Here for a Spooky Snapshot.”
It’s an easy DIY Halloween party activity that gives guests something to do and leaves everyone with photos they’ll want to keep.
3. Turn Neon Paper into Spooky Garlands and Hanging Decorations
Not every Halloween decoration needs to be scary.
Sometimes, the most memorable decorations are colorful, a little silly, and full of character.
Fluorescent craft paper is particularly useful for making Halloween garlands because you can cut out dozens of shapes without needing much extra equipment.
Start by drawing simple templates for pumpkins, ghosts, bats, or monsters. Trace them onto colored paper and cut out several pieces of each design.
Try combining neon green monsters with orange pumpkins and purple bats. You can make each character different by changing the eyes, mouths, or facial expressions.
For a little sparkle, add glitter paper details to some of the shapes.
Once everything is ready, use a hole punch and string to connect the decorations into a garland. Hang it across a doorway, along a classroom bulletin board, or above your Halloween snack table.
The Royal Brites® Poster Board & Sign Board Collection includes colorful options for larger decorations, while smaller neon project papers are convenient for cutting individual shapes.
If you’re crafting with children, let everyone design a character of their own. A garland made from different personalities and imaginative drawings often turns out better than one where every decoration looks exactly the same.
And when Halloween is over, you can save the templates for next year’s craft session.
4. Add Some Sparkle with Glitter Paper Bats, Stars, and Pumpkins
Who says Halloween decorations have to be dark and gloomy?
A little glitter can make even the simplest Halloween craft feel special, especially when you’re decorating for a party, school event, or family gathering.
The trick is to use glitter as an accent rather than covering everything with sparkle, glitter paper Halloween for crafts is better.
For example, cut a large pumpkin from orange paper and add a black glitter face. Or make a group of black paper bats with silver glitter wings.
You could also create a Halloween moon scene by placing glitter stars and bats onto a dark poster board background.
The Royal Brites® Assorted Glitter Project Papers, 11″x14″ include ten colors, such as black, orange, purple, gold, and silver. They’re especially useful for Halloween designs, and their no-shed glitter surface helps keep loose glitter off your table.
Because the sheets can be cut and shaped, you can use them for smaller decorative details, handmade Halloween cards, party invitations, or layered paper artwork.
Try making several glitter pumpkins in different sizes and arranging them on a poster board background. Add a handwritten Halloween greeting, and you’ve got a homemade decoration that feels much more personal than something picked up at the store.
You can also turn leftover glitter paper into matching gift tags or labels for Halloween treat bags.
A good craft project doesn’t have to use every sheet of paper. Sometimes, those little leftover pieces are perfect for the next idea.
5. Build a Halloween Treat Table with Handmade Decorations
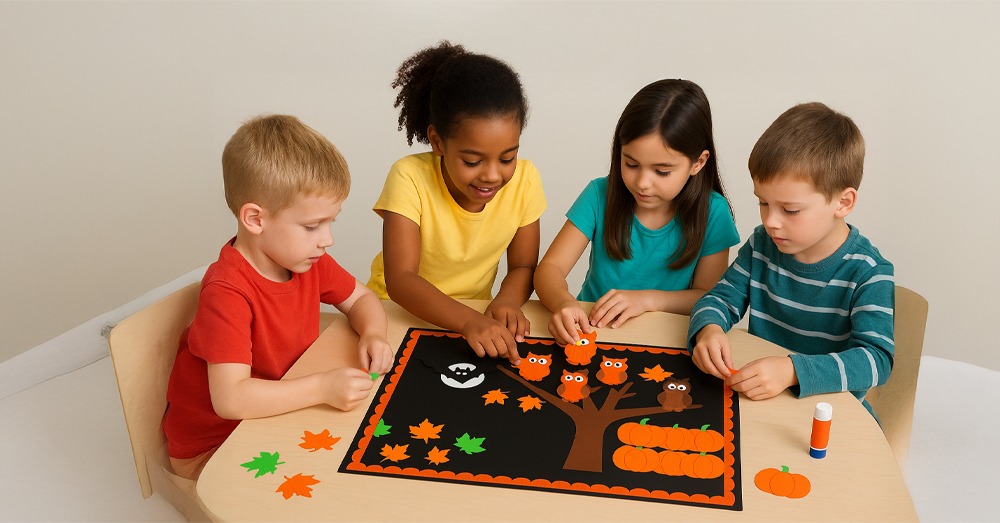
If you’re hosting a Halloween party, the snack table is a great place to put your crafting ideas to work.
You don’t need elaborate centerpieces to make it look festive. A few coordinated paper decorations can bring the whole setup together.
Start with a colorful poster board sign for the table. Choose a fun message such as “Witch’s Snack Shack,” “Monster Munchies,” or “Beware of the Candy!”
Then use matching neon paper to make smaller labels for treats and drinks.
A bowl of popcorn can become “Monster Munch,” while a tray of cookies might be labeled “Witch’s Favorite Bites.” Let the kids come up with their own names, especially if they’re helping prepare the party.
You can also make little paper pumpkins, bats, and ghosts to attach to the front of serving trays or hang around the table.
If you want the decorations to look coordinated, choose three main colors and repeat them throughout the setup. Neon green, orange, and black work well together, while purple and silver glitter accents add something unexpected.
For tabletop signs, fold a small piece of poster board into a standing tent shape so it can sit beside the food without needing a frame.
Keep paper decorations away from flames, hot serving dishes, and anything that could spill. Battery-operated candles are a safer choice around paper crafts.
By the time you’ve finished, the table will feel like part of the Halloween celebration rather than just a place to leave the snacks.
6. Make Halloween Crafts a Family or Classroom Activity
One of the best things about DIY Halloween decorations is that the activity itself becomes part of the celebration.
You don’t have to finish every project in one afternoon, and nobody needs to be particularly good at drawing or crafting.
Set out a few sheets of poster board, assorted neon paper, glitter paper, markers, scissors, and glue. Give everyone a general theme, such as “Create Your Own Monster” or “Design a Haunted House,” and let the ideas develop naturally.
For a classroom activity, students can work in small groups to create a Halloween display. One group might design the spooky background, another can make paper characters, and another can handle the lettering.
At home, younger children might enjoy creating silly monster faces, while older kids can experiment with detailed Halloween signs or layered paper decorations.
You can even turn the activity into a friendly competition with categories like funniest monster, most creative pumpkin, or spookiest handmade sign.
The important part isn’t making everything look perfect.
A lopsided paper ghost or a pumpkin with a crooked smile might end up being everyone’s favorite decoration.
And because you’re working with everyday arts and crafts supplies, it’s easy to adapt the activities to different ages, available materials, and the time you have.
What Do You Need for DIY Halloween Paper Crafts?

You can make most of these decorations with a surprisingly short list of supplies:
- Poster boards: For large signs, party backdrops, sturdy props, and decorative displays.
- Neon paper: For colorful Halloween characters, garlands, small signs, and paper cutouts.
- Glitter paper: For shiny lettering, decorative accents, handmade cards, and party details.
- Markers and pencils: For sketching designs, adding faces, and writing Halloween messages.
- Scissors and glue: For cutting shapes and assembling your projects.
- String, tape, or craft sticks: For hanging decorations and making handheld props.
If you’re decorating with children, choose age-appropriate scissors and supervise cutting and assembly as needed.
You can find a variety of poster boards and specialty craft papers in the Royal Brites® collection at The Royal Store.
Having a few different colors and finishes gives you more flexibility, especially when several people are crafting together.
Make This Halloween a Little More Handmade
Halloween has always been about having fun, getting creative, and trying something different with Halloween poster board crafts.
You can spend an afternoon making decorations with your kids, put together a colorful classroom display, or create a few handmade details for a party with friends.
Some projects will turn out exactly as planned. Others might look a little ridiculous, and that’s part of the fun with Halloween crafts for kids.
A handful of colorful paper, a few glitter accents, and some imagination can go a long way.
So before you fill your shopping cart with ready-made Halloween decorations, consider making a few of your own.
Explore Royal Brites® poster boards and craft papers at The Royal Store and find the colors and materials for your next Halloween project.
No tricks, just crafts. And maybe a little glitter on the table when you’re done.
